
Many people have boxes of printed photos, a phone full of digital memories, and a blank wall that’s been waiting for attention for months. The idea of a photo gallery wall seems simple, but getting started can feel overwhelming. The encouraging news is that you can create your photo gallery wall that looks both intentional and beautiful. With a thoughtful approach, that empty space can become a meaningful display that tells a personal story and brings joy with every glance.
Planning Your Gallery Wall Space
 Staring at a blank wall can be daunting, with the fear of making a costly mistake paralyzing many from starting. The secret to a successful gallery wall lies in thoughtful planning before a single frame is hung.
Measuring and Assessing Your Wall Space
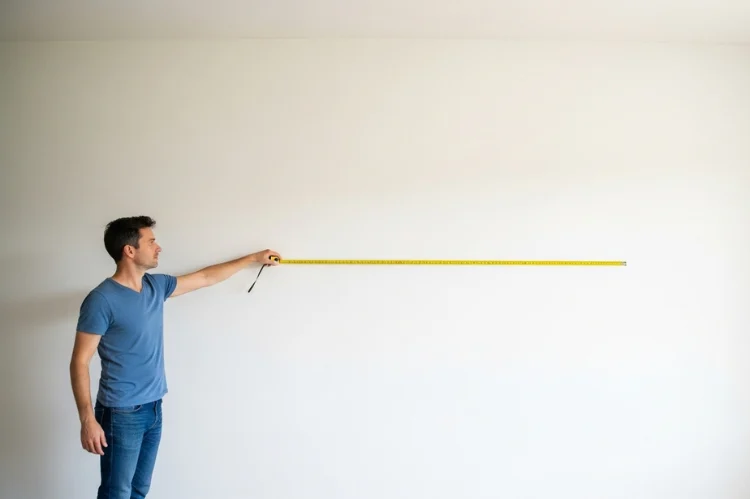
Before anything else, it’s essential to grab a measuring tape and truly assess the wall. Many homeowners learn a tough lesson when they excitedly start hanging photos only to misjudge the scale. A wall might look huge when empty, but once photos are added, the space fills up surprisingly fast.
Measure the width and height of the available wall space, but avoid planning to fill every inch. A good guideline is to leave at least 6-8 inches of breathing room on all sides. This prevents the gallery from looking cramped and gives the display room to expand later.
Pay attention to architectural features like light switches, outlets, or molding. These aren’t obstacles to work around; they are design elements that can help anchor a layout. Professional designers suggest using existing features, like a light switch, as a center point for a symmetrical arrangement to make it look completely intentional.
Choosing the Right Location in Your Home
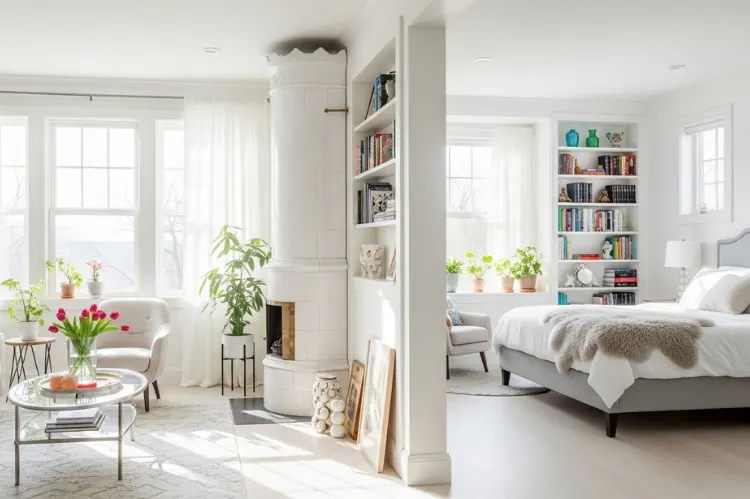
Not all walls are created equal for photo displays. While a hallway might seem like an obvious choice, it’s best to think about where time is actually spent. A gallery wall should be placed somewhere it will be seen and enjoyed regularly.
Living rooms and bedrooms are popular choices because these are spaces for lingering. However, it’s worth considering unexpected spots like the wall above a desk or the space at the top of a staircase. Picture this space: a stunning gallery wall in a kitchen breakfast nook that becomes the heart of the home.
Consider the lighting in the chosen location. Natural light is beautiful, but direct sunlight can fade photos over time. If a wall gets harsh afternoon sun, it may be wise to choose fade-resistant printing options or position the most precious photos away from the brightest spots.
Working Around Existing Furniture and Fixtures
A gallery wall does not exist in a vacuum—it needs to harmonize with the furniture and decor. A frequent mistake is hanging photos too high. The center of the gallery should be at eye level, which is typically 57-60 inches from the floor.
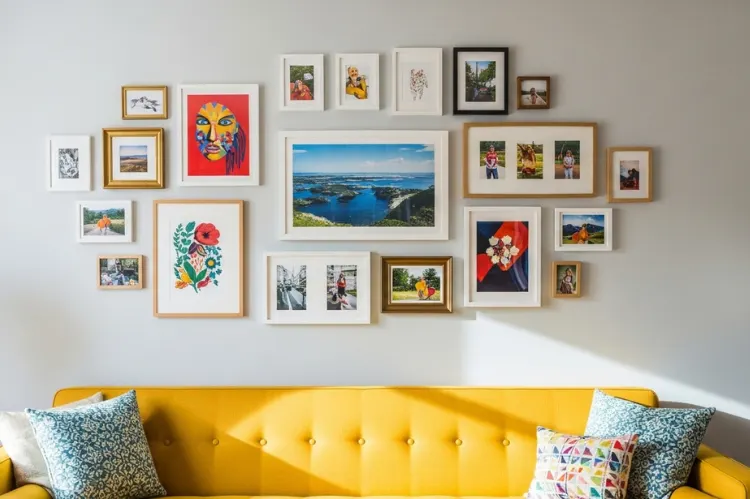
When hanging above a sofa or console table, leave 6-8 inches between the furniture and the bottom of the lowest frame. This creates a visual connection between the wall display and the furniture below without making the room feel cluttered.
Think about the color and style of existing furniture, too. With a bold, colorful couch, choosing more neutral frames can avoid competing for attention. Conversely, if the furniture is neutral, the gallery wall can be the perfect place to introduce personality and color.
Selecting and Preparing Your Photos
Often, the most challenging part isn’t hanging the photos—it’s choosing which memories deserve prime real estate on the wall. Many people get stuck, scrolling through thousands of digital photos without a clear selection strategy.
Curating Photos That Tell Your Story
Begin by thinking about the story the gallery wall should tell. Is it showcasing family milestones, travel adventures, or everyday moments that bring a smile? Having a theme doesn’t mean every photo needs to match perfectly, but there should be a common thread connecting them.
Experienced decorators recommend starting with more photos than needed—about twice as many as planned for display. This provides options during the arrangement process and helps in making better decisions about what works together.
There’s no pressure to include every important moment. Sometimes the most impactful galleries focus on a specific time period or relationship. For example, a wall featuring just photos from a child’s first years can be much more powerful than one that tries to represent an entire childhood.
Editing and Sizing Photos for Display

Consistency in editing helps a gallery look intentional, even when mixing different photo styles and time periods. It is not necessary to make every photo look identical, but applying a similar editing approach creates cohesion.
For digital photos, consider adjusting the contrast and brightness to account for how they will look on the wall. Photos often appear slightly darker when printed and hung, so brightening them a bit more than one would for screen viewing is a good idea.
Size variety adds visual interest, but it’s best not to go overboard. Sticking to two or three different sizes helps avoid a chaotic look. Common combinations that work well include 8×10 with 5×7 photos, or 8×10 with 4×6 and 5×7 for more variety.
Mixing Photo Styles and Time Periods
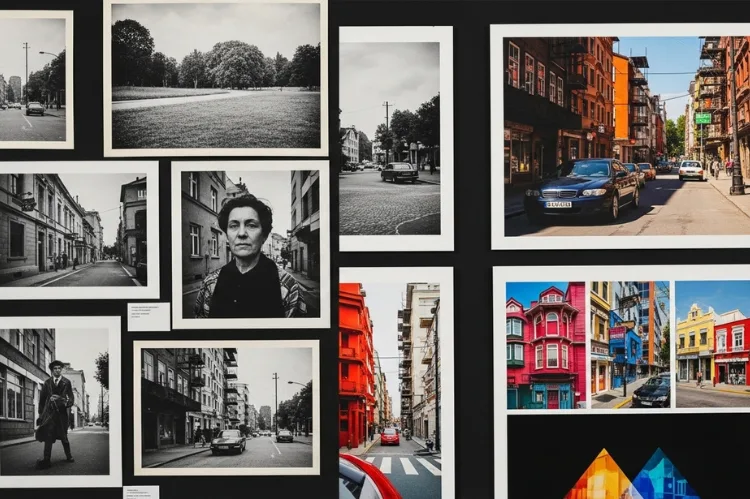
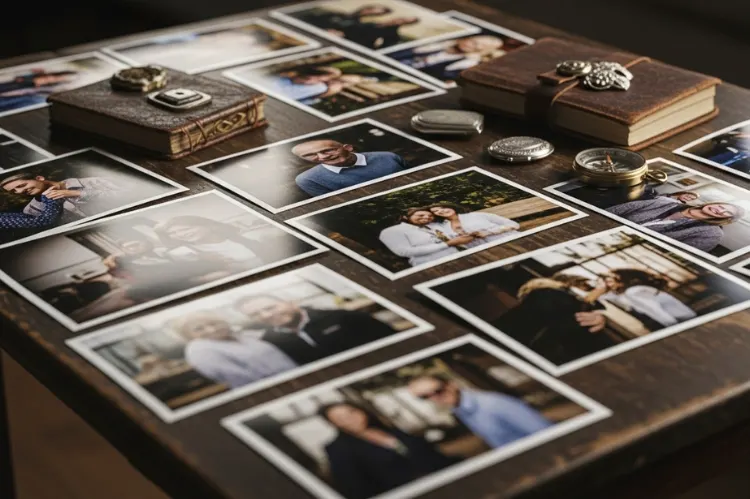
A common challenge for many is wondering whether old family photos will look good next to recent smartphone shots. The truth is, mixing different photo styles and time periods can create a rich, layered display that is much more interesting than perfectly uniform photos.
The secret lies in using black and white photos to create cohesion. Converting some color photos to black and white can help bridge the gap between different eras and photo qualities. Even for those who love color, including some black and white images adds sophistication and helps tie everything together.
There’s no need to worry about matching photo quality perfectly. The slight differences in grain, color tone, and sharpness between different time periods actually add character to the display. The key is arranging them thoughtfully so these differences feel intentional rather than haphazard.
Designing Your Layout Before You Hang
Nothing is worse than ending up with a lopsided gallery wall full of unnecessary holes. Smart designers always test their layouts before committing to permanent placement.
Creating Paper Templates for Planning
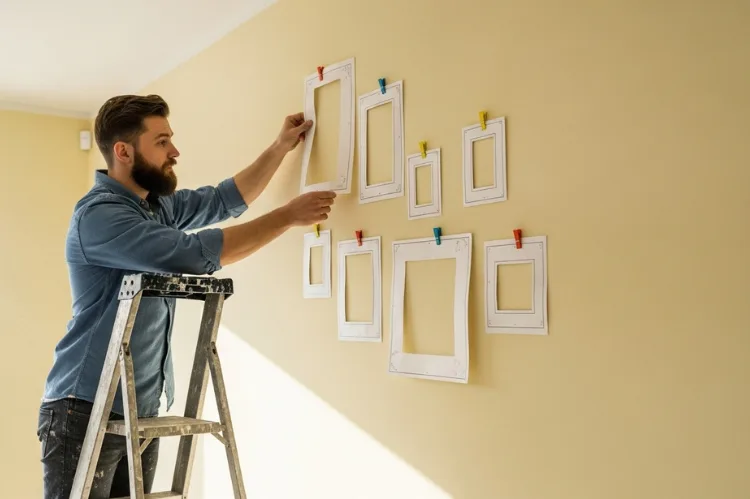
While it may seem tedious, this step is what separates a professional-looking gallery from a haphazard one. Cut paper templates in the exact sizes of the frames, then tape them to the wall to test different arrangements.
Use painter’s tape or removable adhesive to avoid damaging the wall. These templates can be moved around as much as needed, with frequent steps back to assess how the arrangement looks from different angles and distances.
Start with the largest piece and build around it. This anchor piece doesn’t have to be in the center—sometimes placing it off-center creates a more dynamic, interesting layout. Once the anchor is positioned, add the other pieces, maintaining roughly equal spacing between frames.
Using Digital Tools and Apps for Layout Design
For those who are more digitally inclined, several apps and online tools can help plan a gallery wall layout. Some allow users to upload photos of their wall and virtually place frames to see how they will look.
These tools are especially helpful when working with an unusual wall shape or size. Different arrangements can be tested without any commitment, and many apps will even provide measurements and hanging guidelines once the design is finalized.
However, it’s best not to rely solely on digital planning. Even with the best apps, there is no substitute for seeing the actual scale in the space. Use digital tools for initial planning, but always test with physical templates before hanging.
Testing Different Arrangement Styles

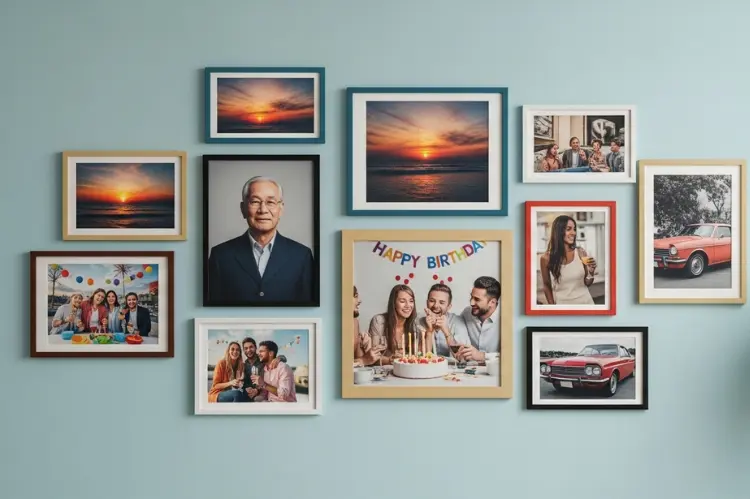
There are several classic gallery wall arrangements that work well in different spaces. The grid layout is clean and orderly—ideal for modern homes or for those who prefer symmetry. All frames are the same size and evenly spaced, creating a structured, museum-like feel.
The salon style, borrowed from 19th-century art galleries, is more eclectic and organic. Photos of different sizes are arranged more closely together, often with frames touching or nearly touching. This style works well for collecting different types of photos and creates a cozy, lived-in feeling.
The linear arrangement works beautifully in hallways or above long furniture pieces. Photos are arranged in a straight line, either all at the same height or following a subtle curve. This style is forgiving for beginners and creates a clean, sophisticated look.
Installation Methods That Work for Every Living Situation

Whether for a renter who cannot put holes in the wall or a homeowner worried about damaging expensive paint, there is an installation method that fits every situation.
Traditional Hanging Methods for Permanent Displays
For homeowners who don’t mind making holes, traditional hanging methods offer the most security and flexibility. Picture hanging wire and hooks work well for heavier frames, while sawtooth hangers are perfect for lighter pieces.
The key to successful traditional hanging is using the right hardware for the wall type. Drywall anchors are essential for anything heavier than a few pounds if not hitting a stud. It’s wise to avoid the small plastic anchors that often come with frames and instead invest in quality drywall anchors that can actually support the photos.
Mark hanging points carefully using the paper templates. A small pencil mark where each hanger needs to go will save measuring mistakes. Use a level to ensure photos hang straight, especially when creating a grid or linear arrangement.
Damage-Free Solutions with Mixtiles
For renters or anyone who wants to avoid permanent wall damage, Mixtiles offer an excellent solution. These stick-on photo tiles adhere directly to the wall without nails, screws, or permanent adhesive. They are particularly great for gallery walls because they create a clean, uniform look and can be easily rearranged or removed.
The beauty of Mixtiles is their flexibility. It’s possible to start with a few photos and add more over time without worrying about matching frame styles or creating new holes in the wall. They work well for testing layouts too—put them up, live with the arrangement for a while, and move them if needed.
They are also perfect for spaces where traditional hanging might be challenging, like textured walls or areas where wall studs can’t be located. The adhesive is strong enough to hold securely but removes cleanly when ready for a change.
Hybrid Approaches for Flexible Gallery Walls
Sometimes the best solution combines different hanging methods. One might use traditional hanging for the largest, most permanent pieces and damage-free options for smaller photos intended for seasonal changes.
Picture ledges are another hybrid option that is gaining popularity. Install one or two ledges permanently, then lean framed photos against them. This creates a layered, casual look and makes it easy to swap photos whenever a change is desired.
Adhesive strips and hooks have also improved significantly and can support more weight than one might expect. They are great for medium-sized frames and work well in combination with other hanging methods.
Styling and Finishing Touches
The photos are hung, but something still feels off. The difference between an amateur-looking photo wall and a designer-worthy gallery often comes down to the finishing details.
Adding Complementary Decor Elements
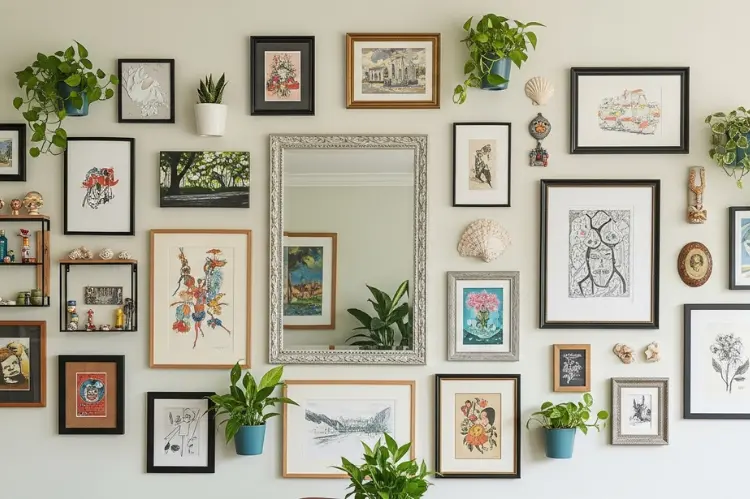 A gallery wall does not have to be photos only. Small decorative objects, mirrors, or even floating shelves can add depth and interest to the display. The key is choosing elements that complement rather than compete with the photos.
A small mirror can reflect light and make a wall feel larger, while a floating shelf provides a place for small objects that relate to the photos. For travel photos, a small shelf with a souvenir from that trip creates a nice connection.
Plants can also soften the hard edges of frames and add life to a display. A small trailing plant on a shelf or wall-mounted planter can create beautiful visual flow. Just be sure any plants chosen can handle the light conditions near the gallery wall.
Incorporating Lighting to Enhance Your Display
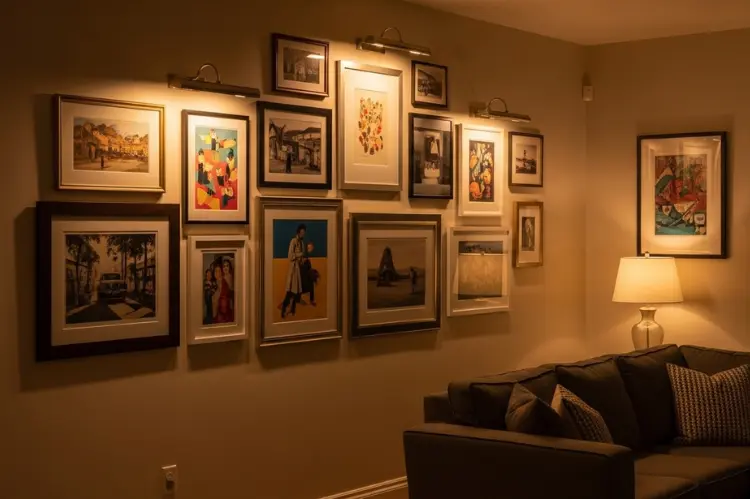
Good lighting can make a gallery wall look exponentially better. If the wall doesn’t get much natural light, consider adding picture lights or small accent lights to highlight the display.
Battery-operated LED strip lights are an easy, renter-friendly option that can be hidden behind frames or along the top of the gallery. They provide gentle, even lighting that makes photos look more vibrant and creates a warm, inviting atmosphere.
Table lamps or floor lamps positioned to cast light on the wall can also enhance a gallery. The key is avoiding harsh, direct lighting that creates glare on glass-covered photos. Soft, diffused light works best for photo displays.
Balancing Colors and Textures
Even with careful photo selection, a gallery wall can sometimes feel flat or monotonous. Adding variety in frame colors, textures, or materials can create visual interest without overwhelming the photos.
Mixing frame finishes—like combining black, white, and natural wood frames—can add sophistication to a display. Just stick to a limited color palette to avoid chaos. Sticking to a maximum of three different frame colors is often the sweet spot.
Consider the wall color behind the gallery too. A darker wall can make photos pop and create a dramatic, gallery-like feel. If painting isn’t an option, even a large piece of colored paper or fabric behind the photos can create a similar effect.
Maintaining and Evolving Your Gallery Wall
A gallery wall is not a museum exhibit—it should grow and change with life. The best photo walls are living displays that reflect the current chapter while honoring personal history.
Seasonal Updates and Photo Rotation
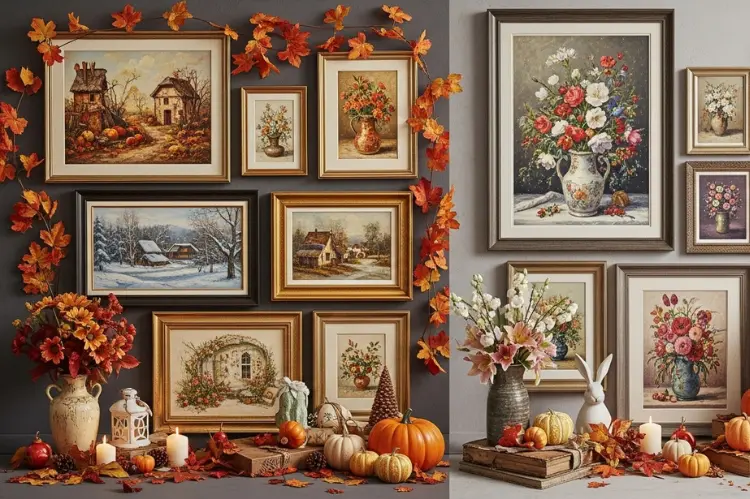
One of the joys of having a gallery wall is the ability to refresh it regularly. Consider rotating some photos seasonally—perhaps adding vacation photos in summer or family gathering shots during the holidays.
Keep a small collection of “backup” photos in similar sizes to the current display. This makes it easy to swap out photos when a change is desired without having to redesign the entire layout. Even changing just two or three photos can make a gallery feel fresh and new.
When using damage-free hanging methods, seasonal updates are even easier. One can experiment with completely different arrangements or add temporary elements for holidays or special occasions.
Adding New Memories Without Starting Over
Life doesn’t stop when a gallery wall is complete, and neither should the display. Plan the initial layout with some flexibility for future additions. Leave a little space where new photos can be added, or choose a layout style that can easily accommodate growth.
When it’s time to add new photos, there is no need to start from scratch. Look for natural places to expand the current arrangement, or consider whether any current photos might be ready for rotation to make room for new memories.
The beauty of gallery walls is that they can evolve organically. What starts as a wedding photo display might grow to include baby photos, then school pictures, then graduation shots. The wall becomes a visual timeline of life’s most important moments.
Long-term Care and Preservation Tips
To keep a gallery wall looking its best, dust frames regularly with a soft cloth. For photos behind glass, a gentle glass cleaner will remove fingerprints and smudges that can accumulate over time.
Pay attention to how the photos are aging in their current location. If any fading is noticed, especially on photos exposed to direct sunlight, consider moving them to a different spot or using UV-protective glass in their frames.
Most importantly, don’t be afraid to change things up when a gallery wall no longer brings joy. The best photo displays are the ones that make a person smile every time they see them. If a wall has become invisible background noise, it might be time for a refresh.
Ultimately, creating a photo gallery wall is about designing a space that reflects who a person is and what matters most to them. It’s not about achieving an impossible standard of perfection—it’s about surrounding oneself with memories that make a house feel like home. Take time, trust your instincts, and remember that the best gallery walls are the ones that tell a unique story.
Read Next: Peel-and-Stick Wallpaper Ideas for Instant Room Makeovers